
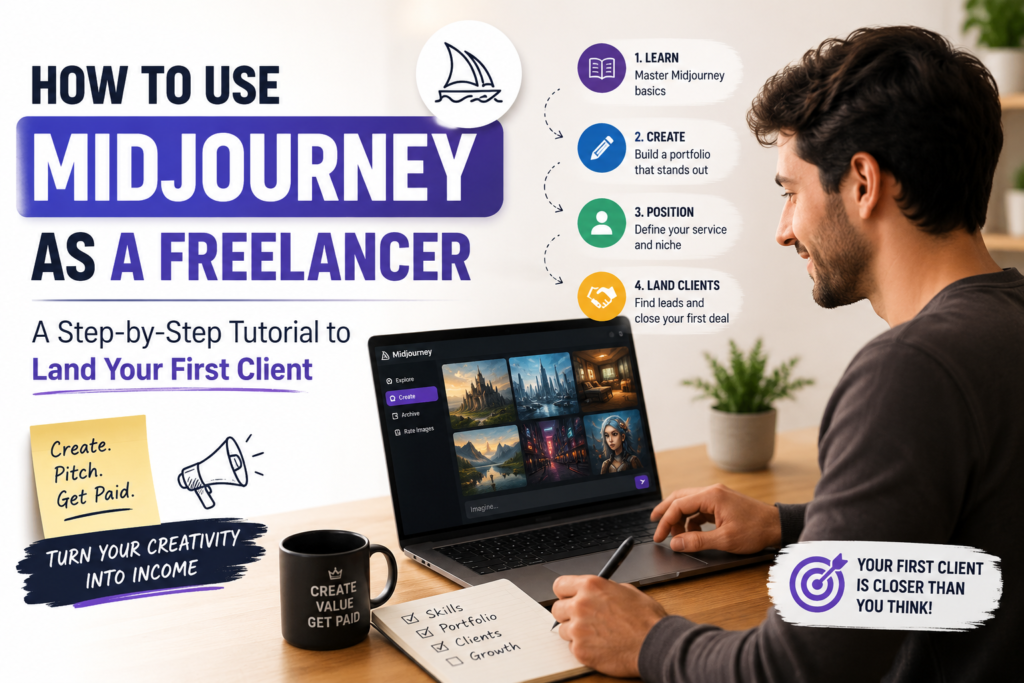
The freelance landscape is shifting rapidly, and artificial intelligence is no longer a futuristic concept but a practical tool that can set you apart from the competition. If you have been wondering how to use Midjourney as a freelancer, you are in the right place. This platform allows you to generate stunning visuals in seconds, from logos and banners to product mockups and illustrations. By mastering this tool, you can offer faster turnaround times, lower prices, or higher quality work to your clients, all while building a more profitable business. This tutorial will walk you through every step, from setting up your account to delivering final files and invoicing your first client.
Understanding how to use Midjourney as a freelancer is not just about typing prompts; it is about creating a professional workflow that impresses clients and secures repeat business. Many freelancers worry that AI will replace them, but the truth is that clients still need human creativity, curation, and communication. Your role shifts from being a manual designer to a strategic director of AI output. This guide is designed to give you a repeatable system, so you can confidently pitch your services, handle client feedback, and deliver commercial-grade assets. By the end of this tutorial, you will have a clear roadmap to land your first AI-powered client.
Step 1: Set Up Your Midjourney Account and Workspace
Join Discord and subscribe to Midjourney
The first step in how to use Midjourney as a freelancer is to join the Midjourney Discord server and subscribe to a paid plan. Midjourney operates entirely through Discord, so you will need a free Discord account before you can access the bot. Once you are in, choose a subscription tier that matches your expected volume of work; the Standard plan is usually sufficient for freelancers starting out. After subscribing, you will gain access to the Midjourney bot in the official server, and you can begin generating images immediately by typing /imagine followed by your prompt.
Create a dedicated server for your freelance projects
To keep your work organized, create your own Discord server specifically for your freelance projects. This is a critical step in how to use Midjourney as a freelancer because it prevents your client work from getting lost in the public chaos of the main server. Invite the Midjourney bot to your new server by following the simple authorization process. Having your own server gives you full control over channels, permissions, and file storage, making it easier to track revisions and maintain a professional archive of your generated images.
Organize channels for different clients or project types
Within your new server, create separate text channels for each client or project type, such as “Client-LogoDesign” or “SocialMedia-Banners.” This structure is essential for how to use Midjourney as a freelancer because it allows you to keep conversations and image outputs neatly separated. You can also create a “Prompt Library” channel where you save your most successful prompts for future reuse. Additionally, set up a “Client Feedback” channel where you can post variations for a specific client without mixing them with other projects. This level of organization will save you hours of searching later and will impress clients when you can quickly reference their specific project history.
Step 2: Write Your First 5 Client-Ready Prompts
Prompt 1: Minimalist logo for a tech startup
A strong logo is often the first asset a freelance client will request. For a tech startup, try this prompt: “Minimalist geometric logo for a tech company named NovaTech, using blue and silver gradients, clean lines, futuristic vibe, white background, vector style.” This prompt focuses on simplicity and scalability, which are key for logos. When you learn how to use Midjourney as a freelancer, you will find that specifying the color palette and style upfront reduces the number of iterations needed. Always add “–ar 1:1” for a square format and “–v 6” to use the latest model for better coherence.
Prompt 2: Social media banner for a wellness brand
Social media banners are a high-demand freelance service. Use this prompt: “Social media banner for a wellness brand called Serenity, featuring soft pastel colors, lavender and sage green, yoga poses, watercolor texture, inspirational quote space on the right, 16:9 aspect ratio.” This prompt gives Midjourney clear direction on mood and layout. Understanding how to use Midjourney as a freelancer means tailoring prompts to the final use case; here, the aspect ratio and text space are crucial for practical application. You can later add text in your design software, but the generated background should already feel complete.
Prompt 3: Product mockup for an e-commerce store
E-commerce sellers need realistic product images. Try: “Product mockup of a minimalist ceramic coffee mug on a wooden table, soft natural lighting, cream color mug, morning coffee vibe, shallow depth of field, photorealistic, 3:2 aspect ratio.” This prompt creates a lifestyle image that can be used directly on a product page. When mastering how to use Midjourney as a freelancer, focus on lighting and texture keywords to achieve photorealism. You can generate multiple angles by adding “front view” or “top view” to the prompt, giving your client a set of cohesive mockups.
Prompt 4: Character illustration for a children’s book
Illustration work is a growing niche for AI-assisted freelancers. Use: “Cute whimsical character illustration of a friendly fox wearing a blue scarf, standing in a magical forest, soft glowing mushrooms, warm color palette, children’s book style, flat vector art, white background, 2D animation style.” This prompt emphasizes a specific art style and character personality. Learning how to use Midjourney as a freelancer includes knowing how to describe character traits and settings in detail. Ask for variations with different expressions or poses to give your client options for their story.
Prompt 5: Abstract background for a website hero
Website hero backgrounds can be complex to create manually. Use: “Abstract fluid art background for a website hero section, deep purple and gold swirls, smooth gradients, modern and luxurious feel, no text, high resolution, 16:9 aspect ratio, digital art style.” This prompt generates a visually striking backdrop that can be overlaid with text. A key part of how to use Midjourney as a freelancer is creating assets that are versatile and non-distracting. The “no text” instruction ensures the background is clean and ready for your client’s copy.
Step 3: Refine and Upscale Your Favorite Outputs
Using the upscale and remix buttons
Once you generate a set of images, you will see small buttons beneath each grid. The U buttons upscale a single image, while the V buttons create variations of a selected image. In how to use Midjourney as a freelancer, upscaling is your first step to getting a usable file. Click the U1 through U4 buttons to upscale your preferred image to a higher resolution, typically 1024×1024 or larger depending on your plan. The remix feature, enabled in your settings, allows you to edit the prompt before generating variations, which is incredibly useful for fine-tuning client requests.
Iterating with variations to match client feedback
Client feedback often requires subtle changes like “make it warmer” or “add more space on the left.” To handle this, use the V buttons to create variations of your best upscale. For example, if your client wants a brighter logo, use the V button on the upscaled image and add “brighter colors” to the prompt. This iterative process is the core of how to use Midjourney as a freelancer because it shows clients that you can adapt quickly. Keep all variations in your project channel so you can compare them side by side and select the best one.
Saving high-resolution files for commercial use
After upscaling, save the image directly from Discord by right-clicking and selecting “Save Image As.” Ensure you download the highest resolution available, which is usually the upscaled version. For commercial use, check Midjourney’s terms of service; as a paid subscriber, you own the assets you generate, even for client work. A vital aspect of how to use Midjourney as a freelancer is maintaining a local folder structure for each client, with subfolders for “Raw Outputs,” “Upscaled,” and “Final Deliverables.” This habit prevents file loss and makes your workflow look professional.
Step 4: Export and Edit in Your Design Software
Downloading images and checking resolution
Before editing, confirm that your downloaded images are at least 1024 pixels on the longest side. If you need higher resolution for print, use Midjourney
…use Midjourney’s upscale feature again or an external AI upscaler like Topaz Gigapixel. Check the file format as well; PNG is preferred for transparent backgrounds, while JPEG works for most web uses. Always verify the DPI (dots per inch) if the output is intended for print, aiming for 300 DPI to ensure sharp results.
Importing into Photoshop for touch-ups
Open your upscaled image in Photoshop and begin with basic adjustments like levels, curves, and color balance to correct any AI generated inconsistencies. Use the clone stamp or healing brush tool to remove unwanted artifacts or stray elements. For text integration, add your client’s logo or tagline on a separate layer, ensuring the typography matches their brand guidelines. This step transforms a raw AI output into a polished, client ready asset.
Vectorizing AI outputs with Illustrator (for logos)
For logo designs, import your Midjourney output into Adobe Illustrator and use the Image Trace function to convert the raster image into vector paths. Adjust the tracing settings to balance detail and simplicity, then expand the traced image to edit individual anchor points. Clean up the vector by removing unnecessary nodes and smoothing curves. Finally, save the logo in multiple formats (AI, EPS, SVG, and PDF) so the client can use it across print and digital media without quality loss.
Conclusion
Mastering how to use Midjourney as a freelancer requires a systematic approach from account setup to final delivery. By following the steps outlined in this guide, you can produce high quality visuals that meet client expectations while saving significant time on brainstorming and iteration. The key is to treat AI as a collaborative tool that enhances your creative workflow, not as a replacement for your design judgment or client communication skills.
As you complete more projects, track your results to identify which prompt styles and editing techniques yield the best outcomes. Collect client testimonials and use them to build a portfolio that highlights your ability to blend AI efficiency with professional polish. With practice, you will develop a repeatable process that allows you to take on more clients, charge higher rates, and establish yourself as a forward thinking freelancer in the evolving design landscape.
